Golf Club Builder Workstation Layout That Works

A serious fitting studio can have the right launch monitor, premium components, and deep product knowledge, yet still feel less credible if the workspace is crowded or poorly organized. A thoughtful golf club builder workstation layout puts the tools, inventory, and customer experience in the right order. It helps builders work faster behind the bench while allowing customers to see the quality and range of options in front of them.
The goal is not to make a shop look like a warehouse. It is to create a clean, high-tech environment where every shaft, grip, head, and tool has a purpose and a place. When the layout supports the way your team fits, builds, and consults, it becomes part of the service you deliver.
Start With the Customer Journey
A workstation should be planned around the path a customer takes through a fitting appointment, not simply around the open floor space available. Most customers arrive with questions about distance, ball flight, feel, or consistency. They need to move naturally from conversation to testing, comparison, selection, and final build discussion.
Place the fitting area where it has clear access to your hitting bay or simulator. From that position, the fitter should be able to reach common test shafts and heads without stepping away from the customer or searching through drawers. A customer should also be able to see organized shaft and grip selections while listening to the explanation behind each recommendation.
This visibility matters. A wall of unlabeled tubes, loose components, or generic shelving can make a strong inventory position look confusing. Purpose-built displays turn that same inventory into a professional presentation. The customer can see that there is a real fitting system behind the recommendation, not just a few options pulled from the back room.
Build the Layout in Three Working Zones
The most effective golf club builder workstation layout usually separates the studio into three connected zones: fitting and consultation, assembly and repair, and inventory presentation. They should feel unified, but they do not need to occupy the same counter.
The fitting and consultation zone
This is the customer-facing area. It should support discussion, product comparison, and quick access to the equipment used most often during fittings. Shaft displays are particularly valuable here because they allow customers to view brands, models, flexes, and color stories in a clear, organized format.
Keep the visual field intentional. Presenting every item you own at eye level can create clutter, especially in a compact studio. Feature the shaft matrix and grip assortment that support your core fitting process, then store reserve inventory in a less prominent location. A clean display gives the fitter a more confident starting point for explaining choices.
A small consultation surface can also be useful near this zone. It gives the fitter a place for spec sheets, a tablet, selected heads, or a customer’s current club without turning the main workbench into a catch-all.
The assembly and repair zone
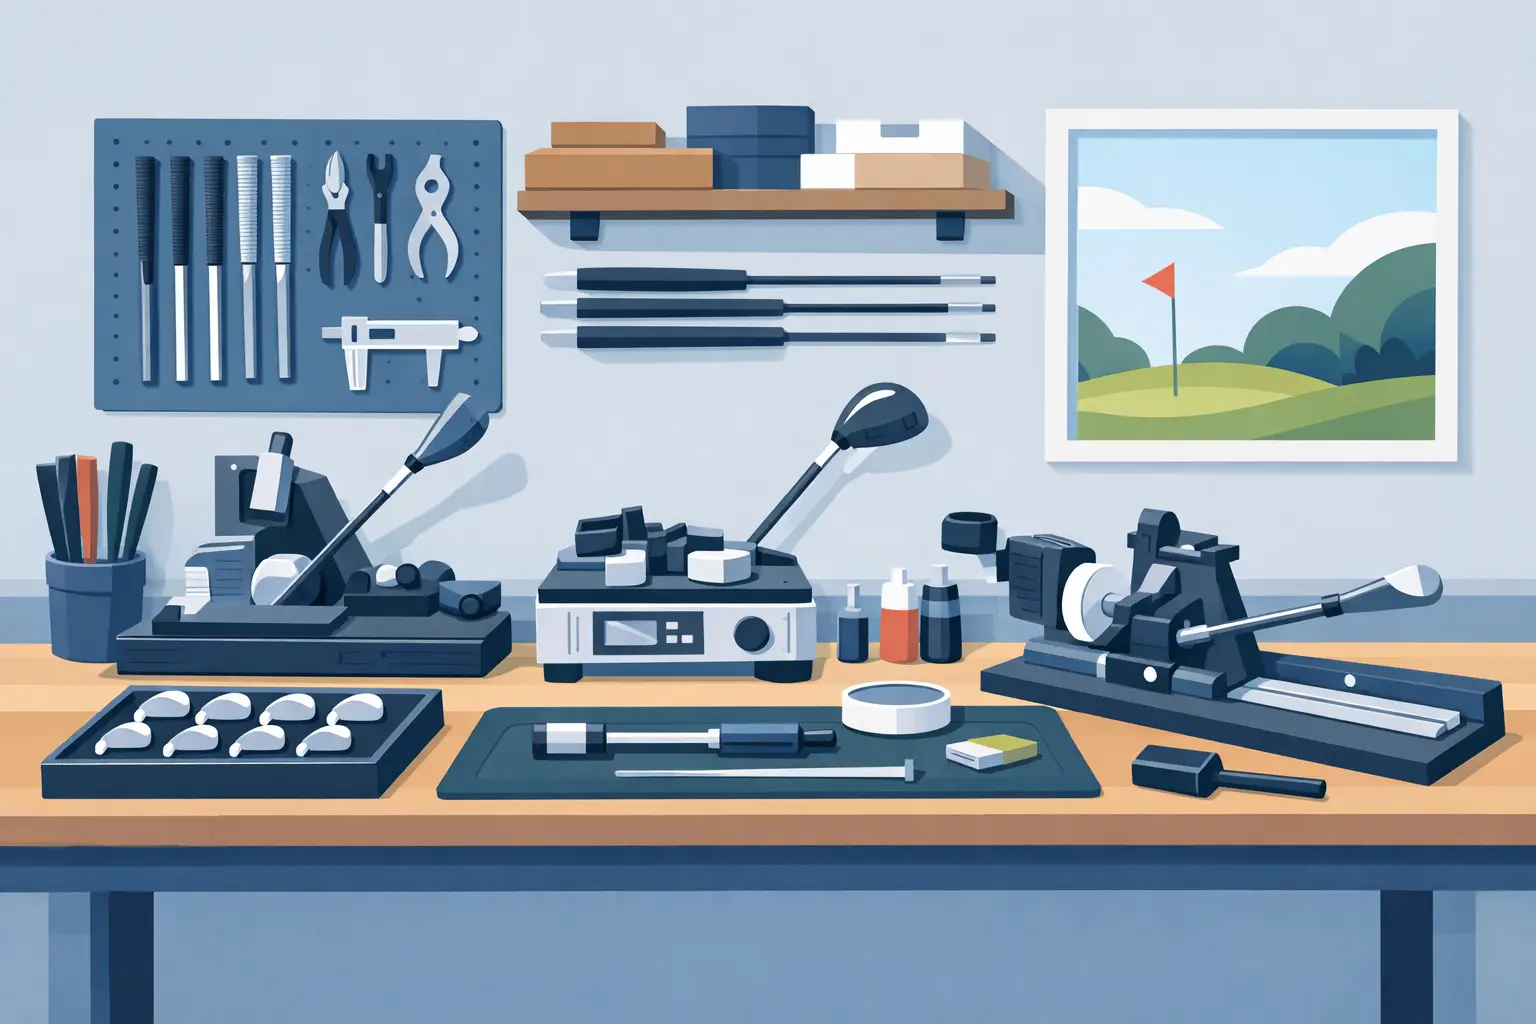
The build bench is where speed, accuracy, and durability matter most. Position it away from the primary customer traffic path when possible. Epoxy, cutting, sanding, swing weighting, and grip installation are part of professional club building, but they should not dominate the visual experience of a fitting studio.
Arrange the bench according to the sequence of work. Frequently used tools should be within easy reach of the builder’s normal standing position. The shaft cutter, vise, ruler, swing weight scale, heat source, and drying area should have dedicated locations. This reduces repeated steps and helps prevent mistakes when multiple builds or repairs are in progress.
Counter height is worth considering early. A bench that is too low can create fatigue during detailed assembly work, while one that is too high can make trimming and clamping less comfortable. The right height depends on the builder and the equipment used, so test the working position before committing to permanent cabinetry.
The inventory presentation zone
This zone protects both efficiency and presentation. It houses the depth of your inventory while keeping it accessible for the fitter or builder. Display systems for shafts, grips, putter shafts, heads, and components are more effective than general-purpose storage because they make product categories easy to scan and maintain.
Wall-mounted displays are often the best use of vertical space in a smaller fitting facility. They keep long shafts straight, visible, and protected while freeing the floor for movement. In a larger shop, freestanding or perimeter display systems can help define the showroom and guide customers toward key categories.
The best solution depends on your inventory depth. A studio carrying a focused matrix may need a refined presentation with fewer display positions. A high-volume builder with multiple brands, aftermarket options, and repair inventory may need a larger system that separates customer-facing samples from backstock.
Keep the Bench Clean Without Hiding the Craft
Customers often enjoy seeing that clubs are built and adjusted on site. The craftsmanship adds credibility, particularly when you are explaining frequency, tipping, swing weight, loft, lie, or grip choices. The challenge is showing the work without showing the mess.
Use closed storage for consumables, small hardware, adhesives, ferrules, tape, cleaning supplies, and miscellaneous tools. These are essential to the build process, but they do not need to be visible during every fitting. Clear labels inside cabinets and drawers help the team maintain order without slowing down the work.
Leave a limited number of professional tools visible on the bench. A clean vise station, precise measuring equipment, and neatly arranged head or shaft samples communicate capability. Loose packaging, half-finished repairs, and overflowing bins communicate the opposite. The distinction is not cosmetic. It affects whether a customer views your recommendation as premium and deliberate.
Plan for Product Comparison, Not Just Storage
Golf equipment is technical, but the retail environment should make it easier to understand. A good workstation layout gives the fitter room to compare products side by side. For example, a customer choosing between two shaft profiles should be able to see both selections, understand the difference, and move quickly back to testing.
Group displays by the way customers make decisions. Shafts may be organized by brand, weight range, or fitting category, depending on your process. Grips are often easiest to shop when models are clearly separated and visible at hand level. Putter components deserve the same care, especially in studios where putting fittings are a meaningful revenue category.
Consistency across display categories creates a more polished impression. When shaft arms, grip displays, and component storage share a clean design language, the entire studio feels considered. USA Golf Displays is built around this kind of category-specific organization, helping fitting facilities showcase products with style and professionalism rather than adapting generic retail fixtures to a specialized job.
Leave Room for Daily Operations
A layout that photographs well but restricts movement will become frustrating quickly. Builders need clear walkways, open cabinet doors, room to carry long shafts, and space to stage incoming or outgoing work. Think through the busy moments: two fittings underway, repair clubs awaiting pickup, a shipment arriving, and a builder completing an assembly order.
Do not use the fitting counter as permanent storage. It may seem convenient at first, but it quickly interrupts customer conversations. Create a designated receiving and staging area for orders, returns, repairs, and customer clubs. Even a compact rolling cart or a small cabinet near the bench can keep these items from spreading across the studio.
Lighting also deserves attention. Bright, even lighting supports accurate work and makes colors, finishes, and graphics easier to see. Avoid relying on a single overhead source that casts shadows across the bench or leaves display walls looking dim. The space should feel precise and inviting, not clinical.
Design for Growth Before You Need It
A workstation layout should accommodate the business you expect to have, not only the inventory you have today. If you plan to add more shaft brands, expand putter fitting, bring on another fitter, or increase repair volume, leave a logical path for expansion.
Modular display systems make this easier. You can begin with the core categories that drive your current business, then add capacity as your inventory and fitting volume increase. This approach protects the initial investment while keeping the studio visually consistent over time.
Before purchasing displays or cabinetry, measure more than wall width. Consider door swings, electrical outlets, traffic flow, ceiling height, hitting-bay access, and sightlines from the entrance. A display that fits on paper may still create an awkward pinch point or block the natural view into the fitting area.
A well-planned workstation quietly tells customers what kind of operation they have chosen: one that respects the details, understands equipment, and is prepared to build the right club with care.


